In all my years of [novice] cooking and baking, there’s nothing I dread more than making caramel. My first attempt was not so much a disaster, it was more like a carnage.
It hardened like candy, and it took me hours of soaking to get the caramel off the saucepan. But of course, practice makes perfect, and finally, my third attempt was a success. But I owe this success to two YouTube videos by the following YouTube cooks Cupcake Jemma, and Recipes by Carina.
I combined everything I learned from these two videos to make my salted caramel, and now, I am happy to share with you how I made my salted caramel. 🙂
You’ll need:
1 and 1/2 cup of sugar
1 cup of water
1 cup of heavy cream (all-purpose cream is fine, too)
1/4 cup of butter, sliced into cubes
1/2 teaspoon sea salt
1 tablespoon vanilla (optional)
1 sack of patience (tongue-in-cheek remark, soz)
Note: It is suggested that all the other ingredients be prepared in advance so it is within easy reach, especially when the sugar syrup has changed colour. 😉
So, I think, with all ingredients on hand, we’ll start making caramel.
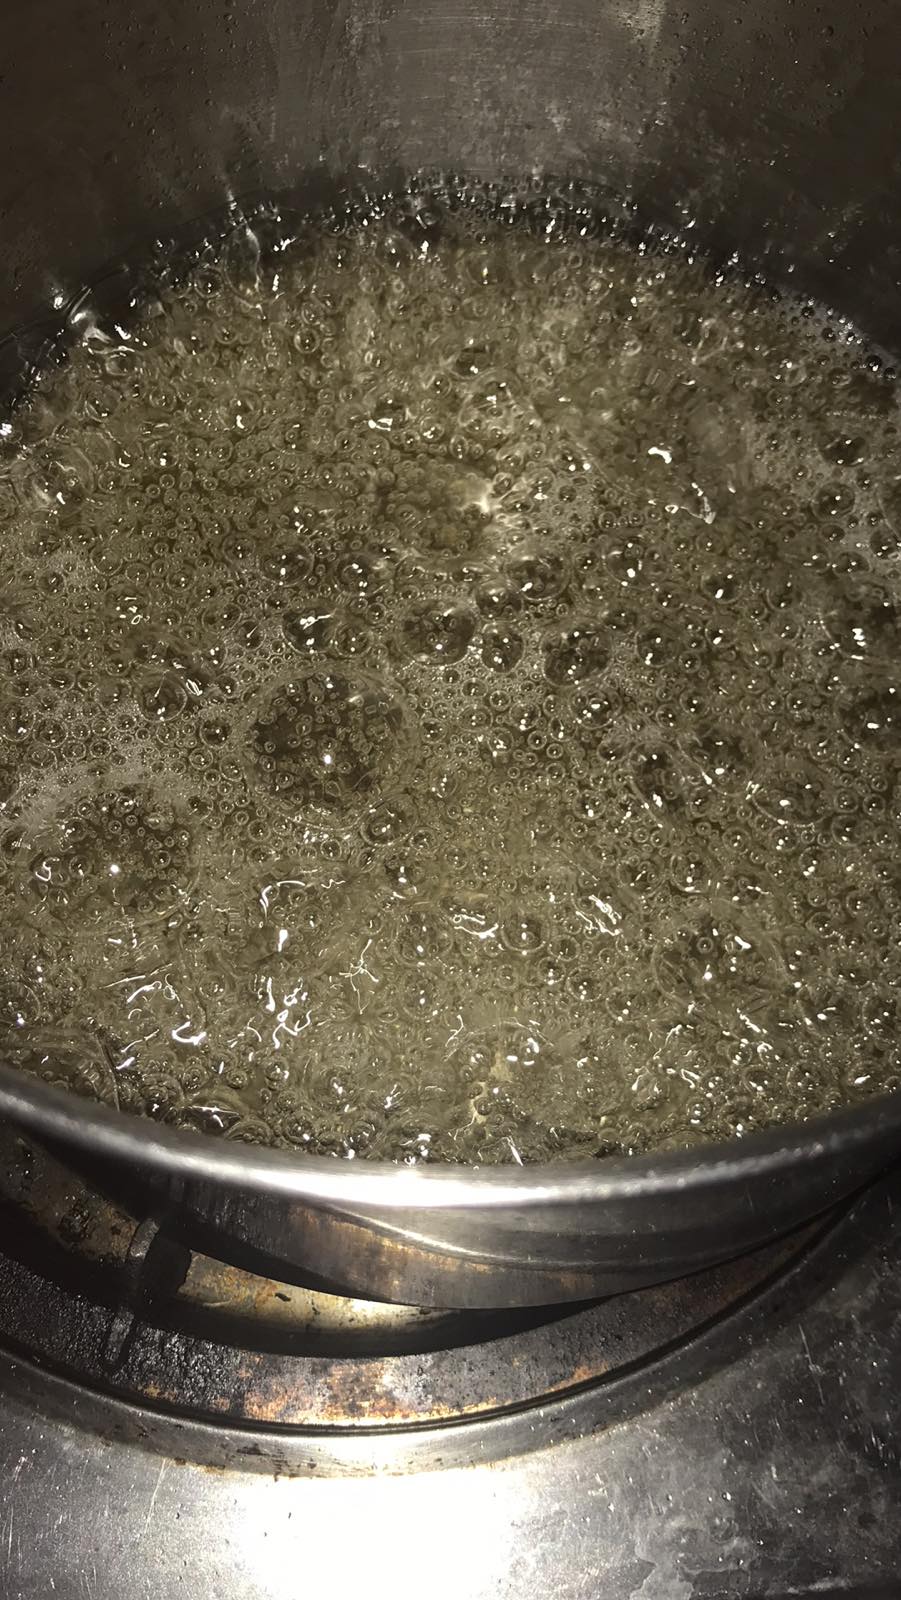
In a saucepan, put in 1 and 1/2 cup of sugar and 1 cup of water. Cook this water and sugar mixture in medium to low heat for around 7-10 minutes. I used a timer to monitor the boiling time. Note that in some cases, it might take longer. So, you have to keep watch. Also, don’t allow the syrup to crystallise on the sides. If that happens, wet a spatula and scrape at the crystallised areas. Better yet, put the lid on–water from the steam will trickle down and will prevent crystallisation.
Also, monitor the colour. I had to constantly check the colour of the syrup.


When the syrup changes into a light to medium amber colour, take the pan off the heat, and grab a whisk.
Pour in the cream gradually–dunking everything in will cause a splash*, and the cream might burn. While the cream is being added, gently whisk the cream-caramel mixture until the caramel is golden brown.
Gently fold in the butter–don’t, for the love of caramel dunk it in–it will end up in an oil bath, and the caramel/butter mixture will tend to separate. Also, it will take a loooooong time to get that fixed. After the butter has been folded in, sprinkle sea salt in small amounts–you don’t want it to get too salty. Once you get the desired taste, let the caramel cool, and store in a jar.

Stored in the refrigerator, the caramel will keep for at least six weeks to a month. Enjoy your caramel! 🙂 In case of doubt as to the accuracy of timing, feel free to watch Cupcake Jemma’s video for her tutorial on salted caramel. 🙂
I made this caramel for my apple crumble pie. If you would like to make it, here’s the link to the recipe. 🙂
*in case you have been spattered on by hot caramel (it hurts like hell), put affected area under cool running water immediately, so the pain will alleviate and the caramel will run off the affected area.

